You are viewing the article How to reduce the size, speed up the processing of Excel files simply and quickly at Tnhelearning.edu.vn you can quickly access the necessary information in the table of contents of the article below.
Heavy Excel files often make it difficult to process and edit data. So how to reduce the size of this file type on the computer. Let’s learn with Tnhelearning.edu.vn how to make capacity, speed up processing excel files simply and quickly!
Causes of heavy Excel files, poor processing speed
– Excel files containing high-resolution images or complex formulas are all causes of slow processing of excel files.
– The application of too many different formats also causes errors in the excel file.
– Unused but formatted table cells cause slow file processing errors.
Benefits of reducing Excel file size
- Helps speed up Excel file processing.
- Share data in Excel quickly and easily.
- No need to use other related decompression software.
Save the file as a binary file
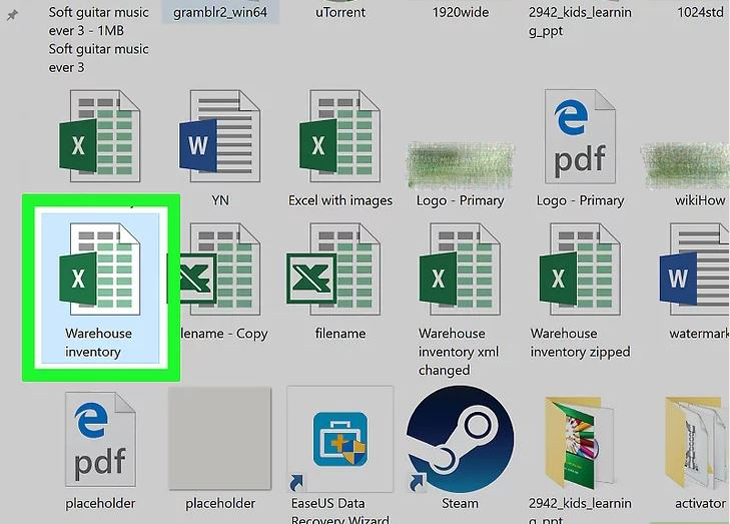
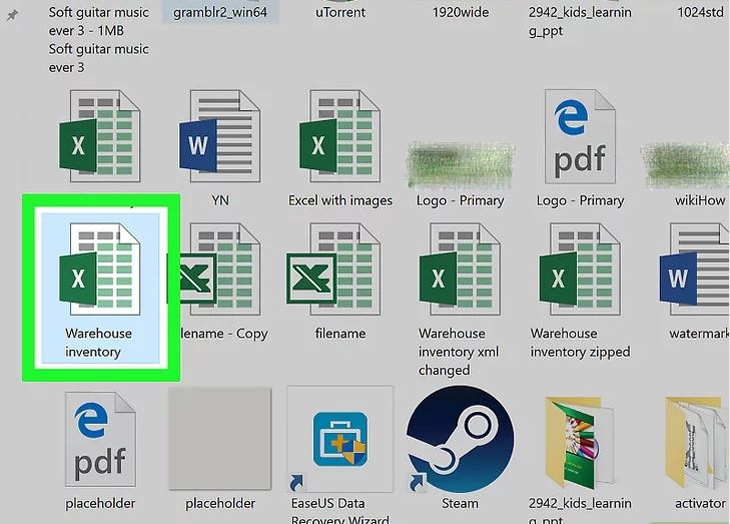
Step 1 : Open the Microsoft Excel file. Double click on the white Exel application with a green X, then click the File button, click the Open … (open) option and then select the file to be manipulated.
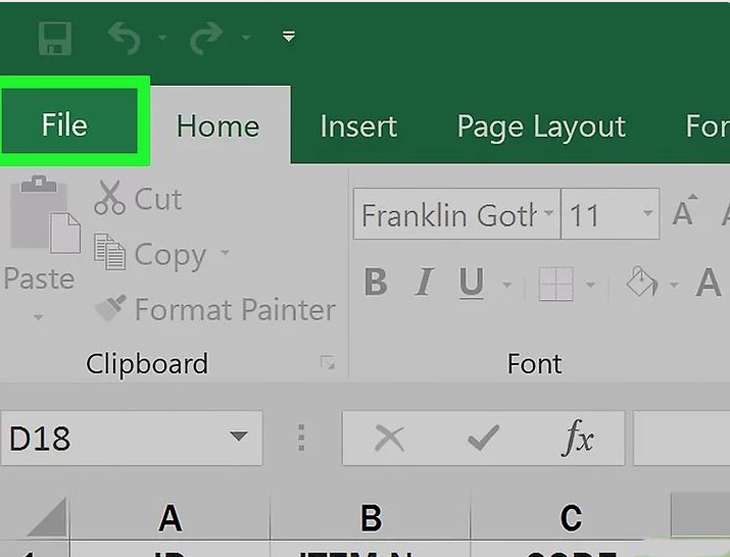
Step 2 : To save the new file, click File .
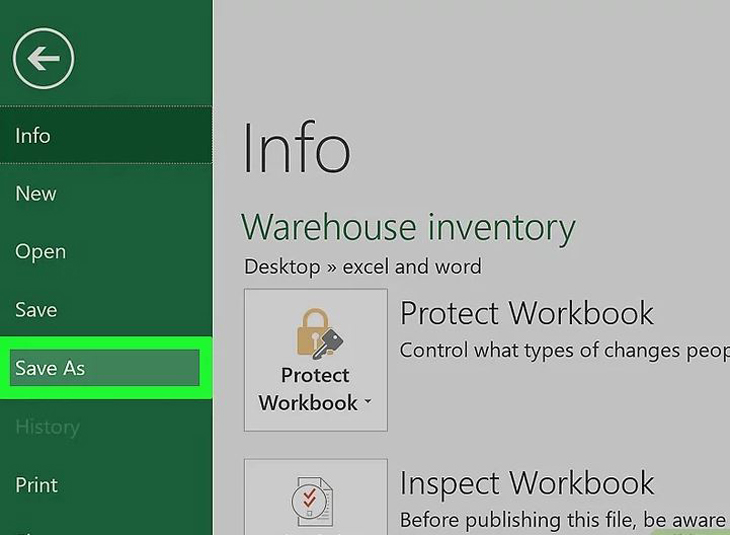
Step 3 : Select Save As… (save as…).
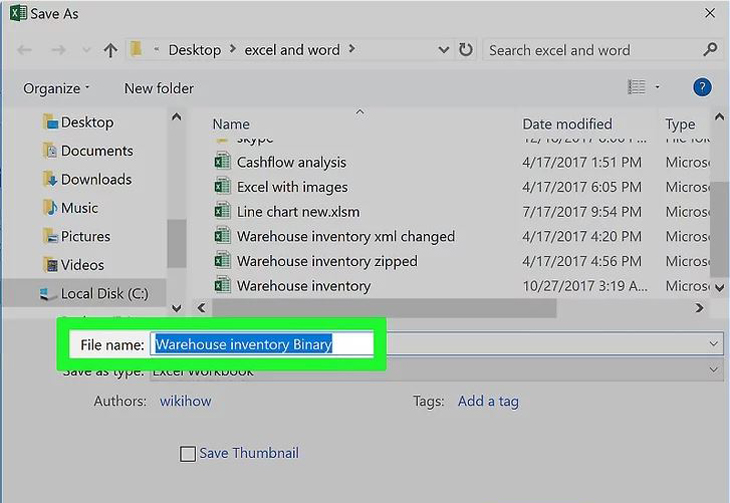
Step 4 : Continue, you type the new file name in the dialog box.
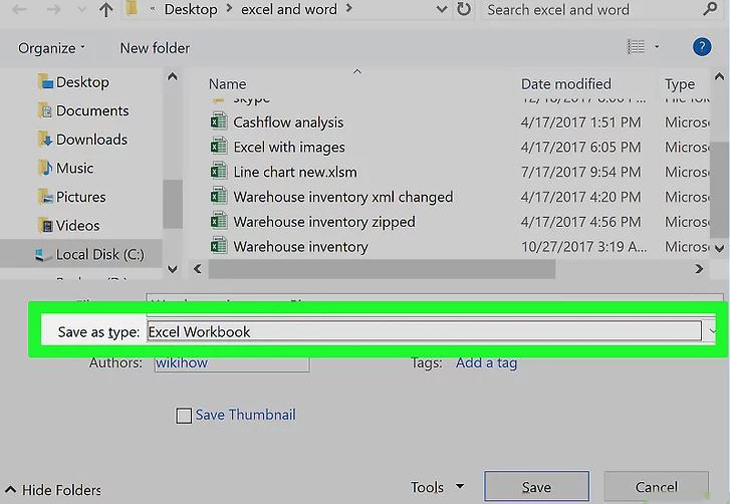
Step 5 : Then, click the drop-down menu located under ” File Format ” (file format).
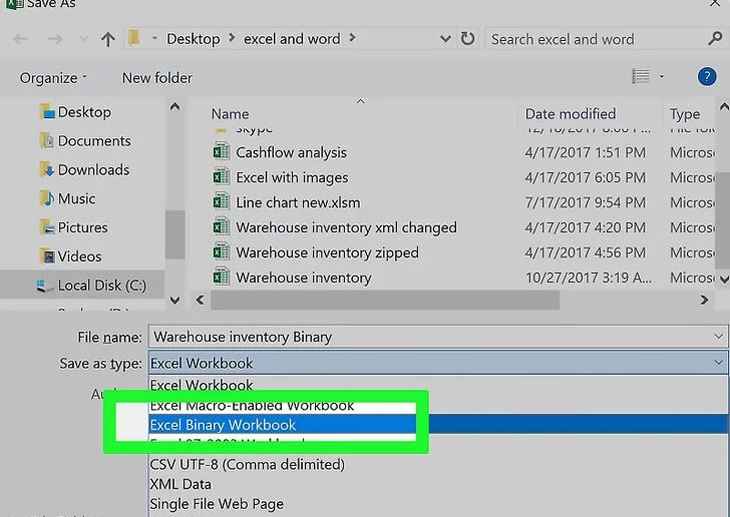
Step 6 : Select the Excel Binary Workbook format (binary file) located under the ” Specialty Formats ” category. Files saved in this format are much smaller than standard .xls files.
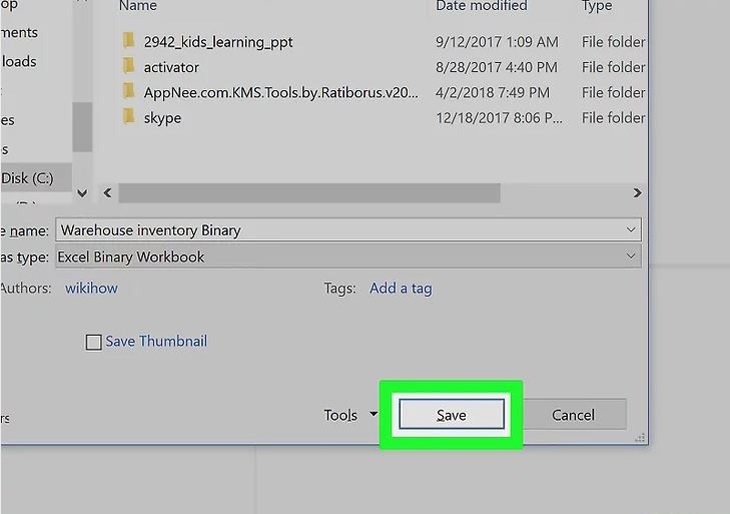
Step 7 : Finally, click the Save button. The smaller Excel file will be saved to the computer.
Remove formatting from empty rows and columns
Step 1 : Open the Microsoft Excel file . Double click on the white Excel application with a green X, then click the File button, click the Open … option, and then select the file to be manipulated.
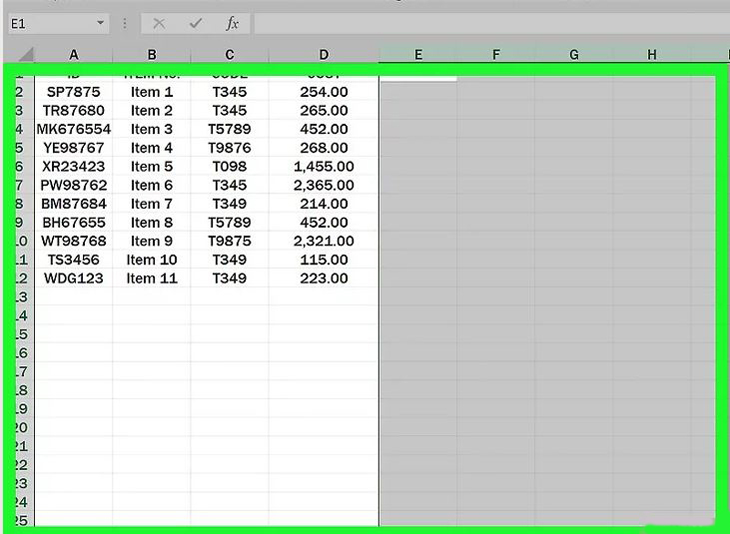
Step 2 : Select all blank rows. Click on the number of the first empty row, then press and hold Ctrl+⇧ Shift+↓ (Windows) or ⌘+⇧ Shift+↓ (MacBook).
The navigation key is usually located in the bottom, right corner of most keyboards.
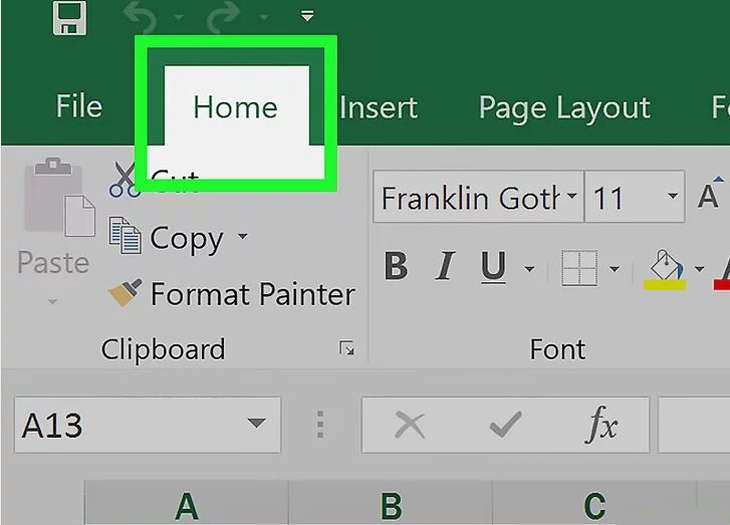
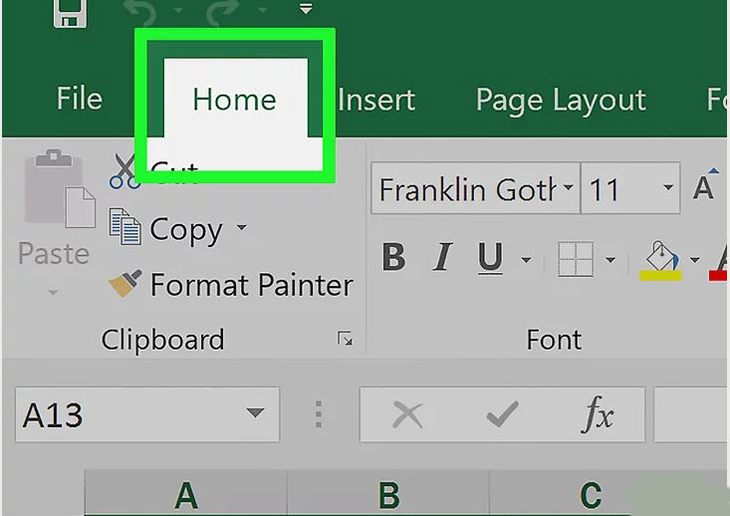
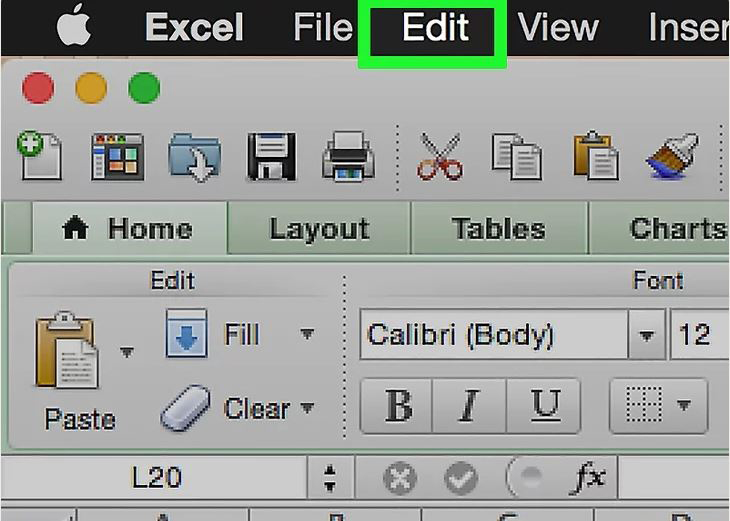
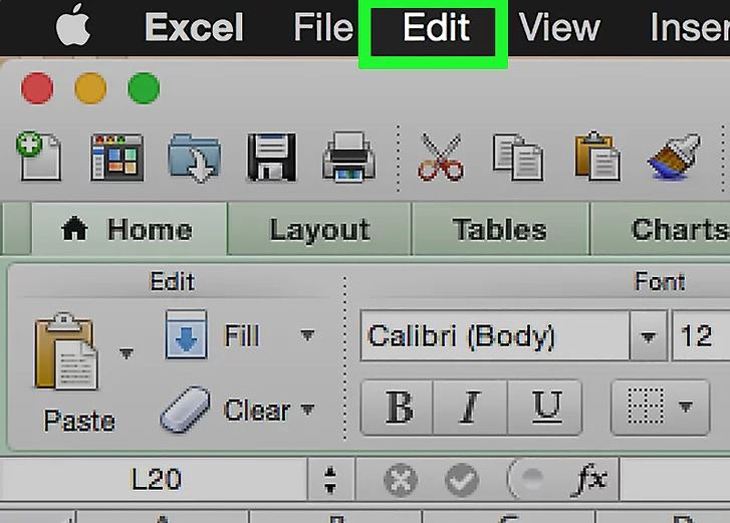
Step 3 : Continue, click on the Home tab (Windows) or the Edit tab (Mac) located in the menu bar.
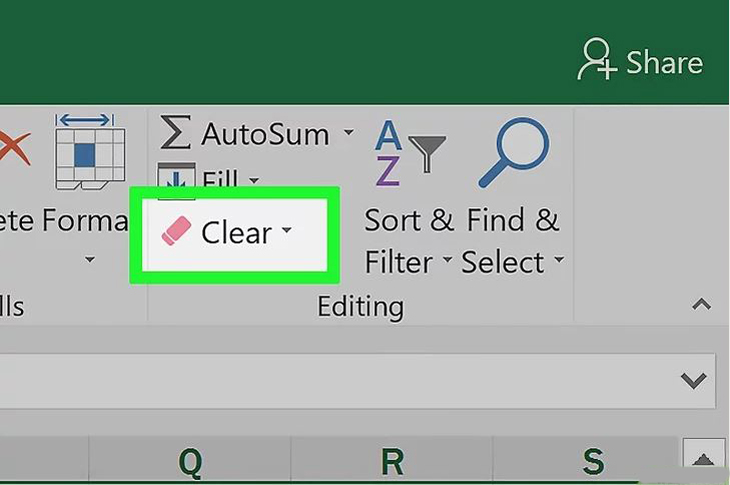
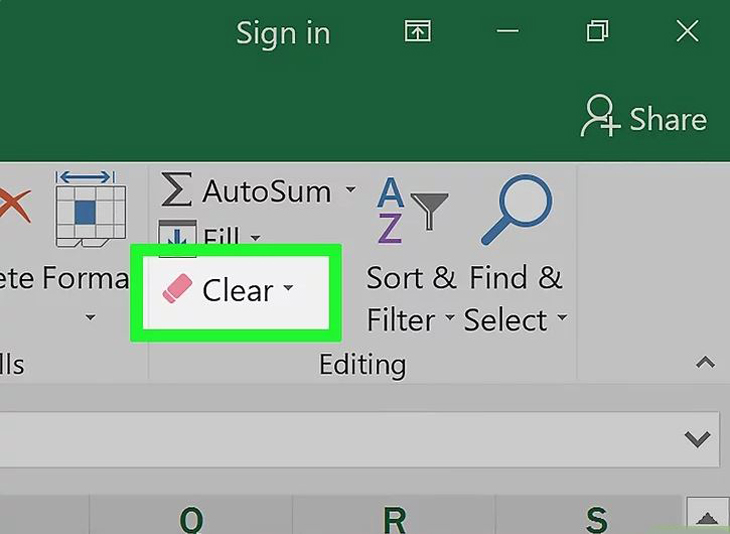
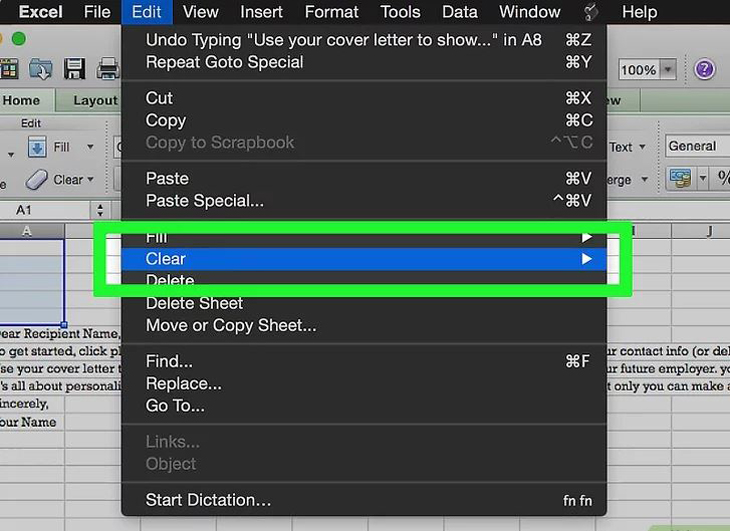
Step 4 : Click the Clear button.
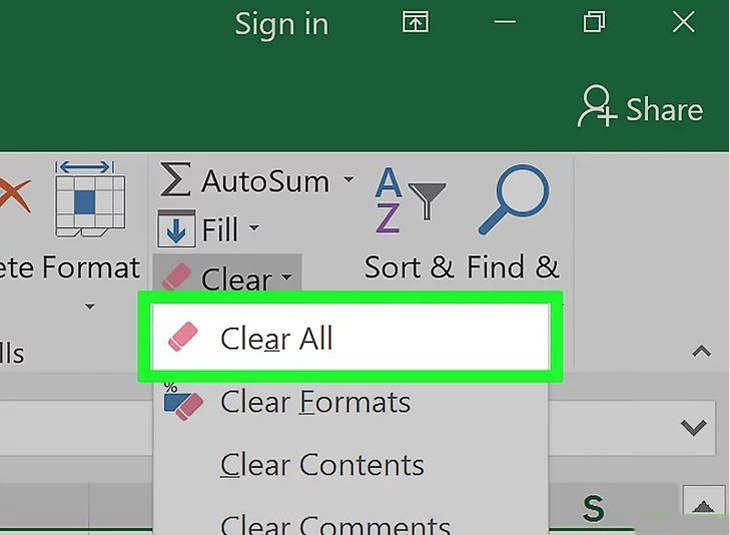
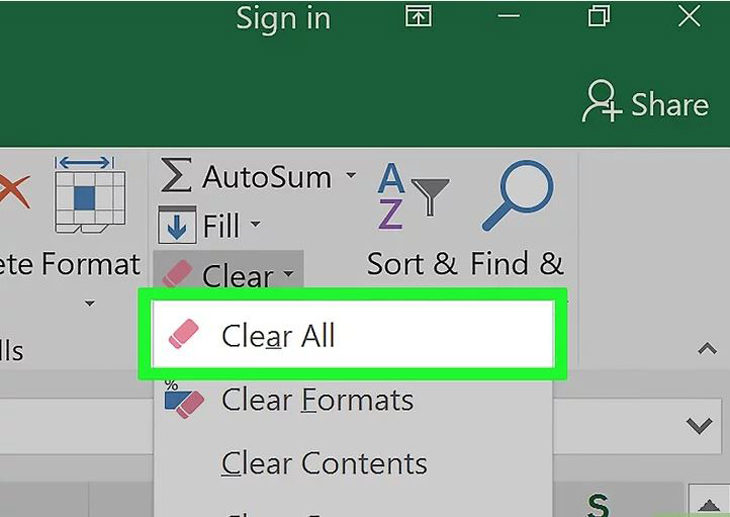
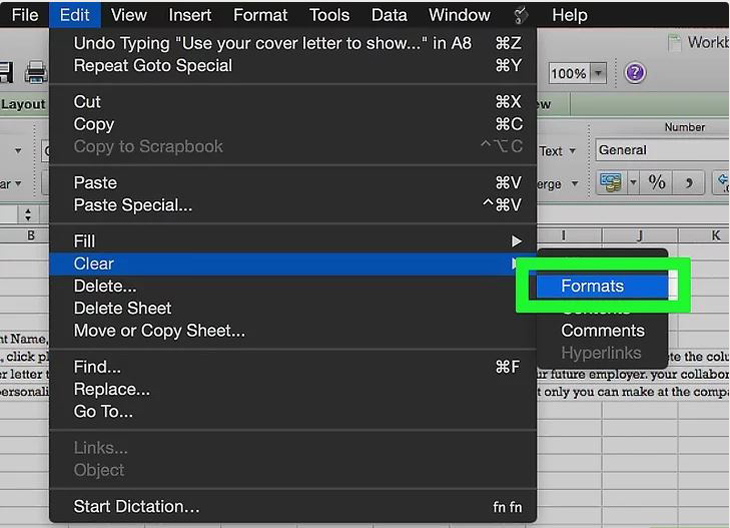
Step 5 : To complete, select Clear All for Windows operating systems or Format for Mac operating systems. This will remove unnecessary formatting from unused cells.
Step 6 : Select all blank columns. Click the letter that specifies the first empty row, then press and hold Ctrl+⇧ Shift+→ (Windows) or ⌘+⇧ Shift+→ (Mac).
The navigation key is usually located in the bottom, right corner of most keyboards.
Step 7 : Continue, click on the Home tab (Windows) or the Edit tab (Mac) located in the menu bar.
Step 8 : Click the Clear button.
Step 9 : Finally, click on Clear All (Windows) or Format (Mac). This will remove unnecessary formatting from unused cells.
Remove conditional formatting
Step 1 : Open the Microsoft Excel file. Double click on the white Excel application with a green X, then click the File button, click the Open… option, and then select the file to be manipulated.
Step 2 : Click the Home tab located at the top of the screen.
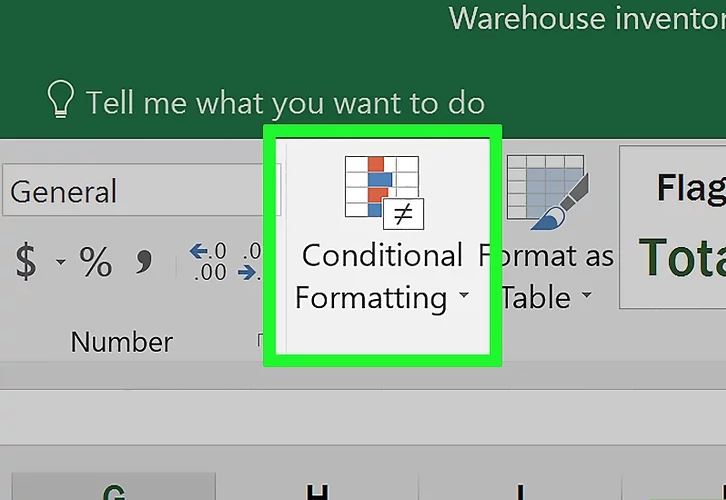
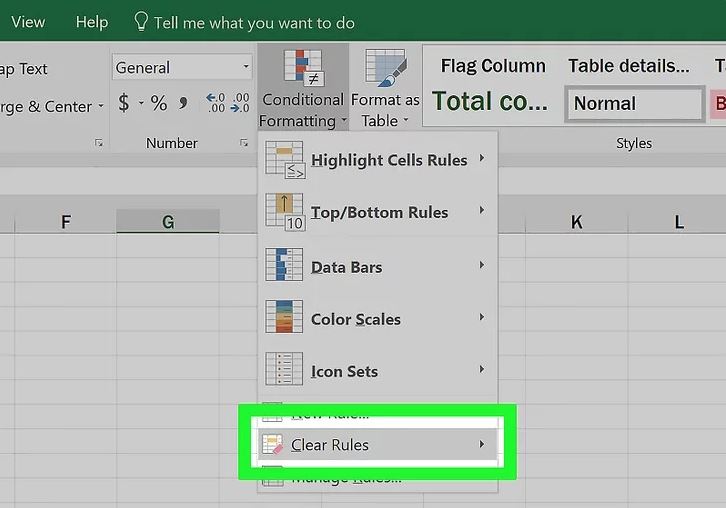
Step 3 : You click on the Conditional Formatting button located in the “Styles” section of the control panel.
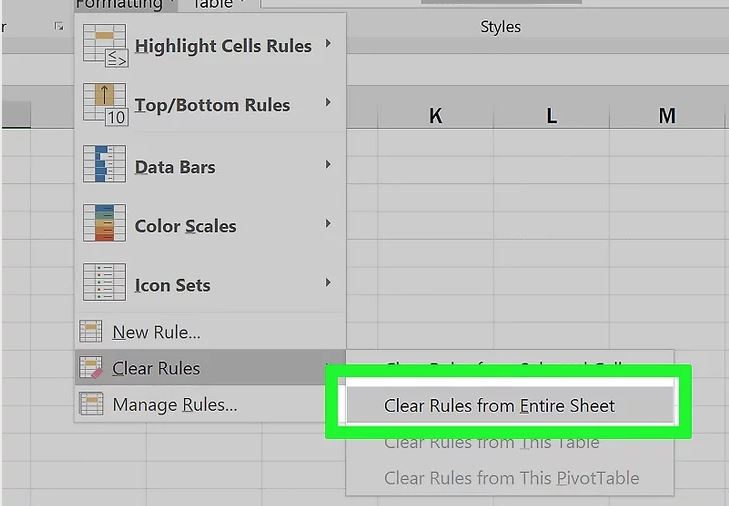
Step 4 : Select the option Clear Rules (delete rules).
Step 5 : Finally, click on Clear Rules from Entire Sheet (delete rules in all sheets).
Remove formatting from blank cells on Mac
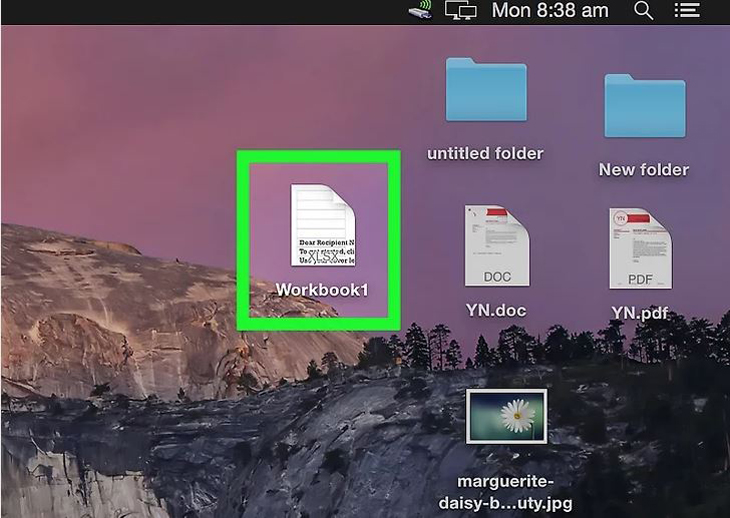
Step 1 : Open the Microsoft Excel file. Double click on the white Excel application with a green X, then click the File button, click the Open … option, and then select the file to be manipulated.
Step 2 : Click on the Edit tab located at the top of the screen.
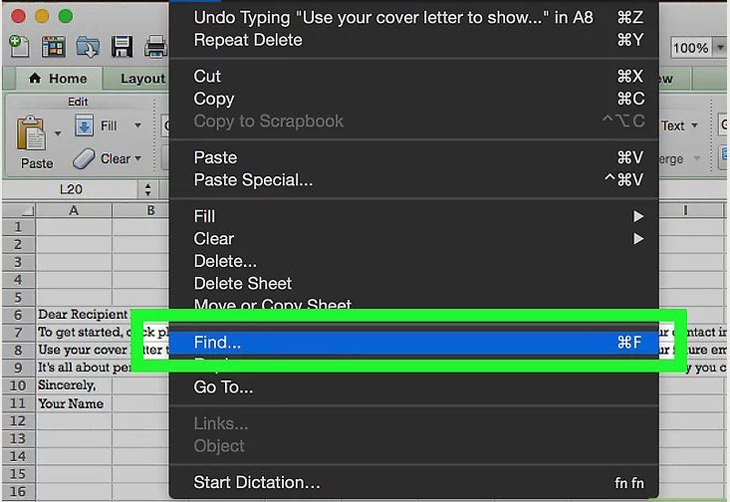
Step 3 : Select the Find option.
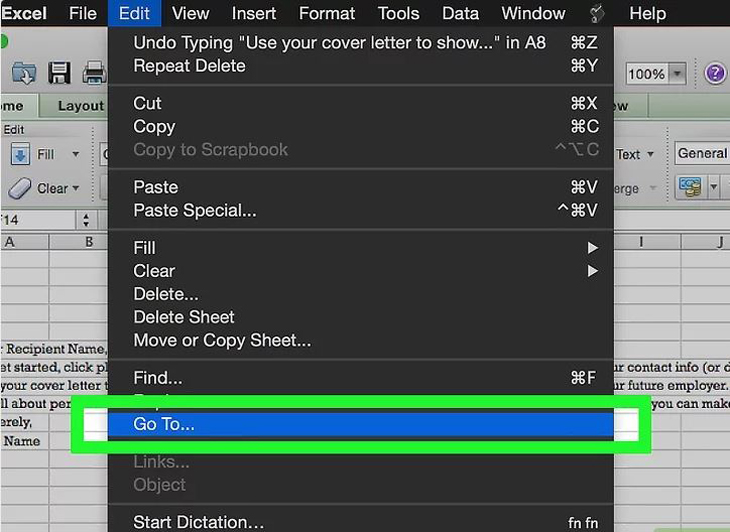
Step 4 : Click Go To ….
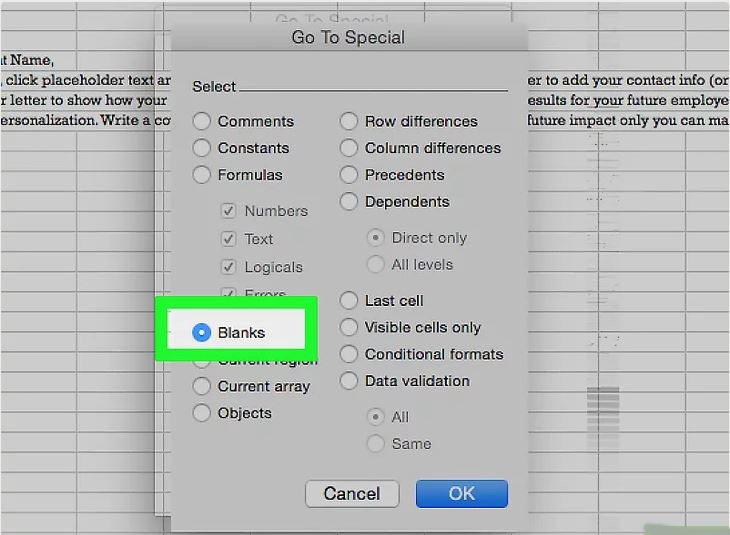
Step 5 : Next, click on Special ….
Step 6 : Click the Blanks selection button.
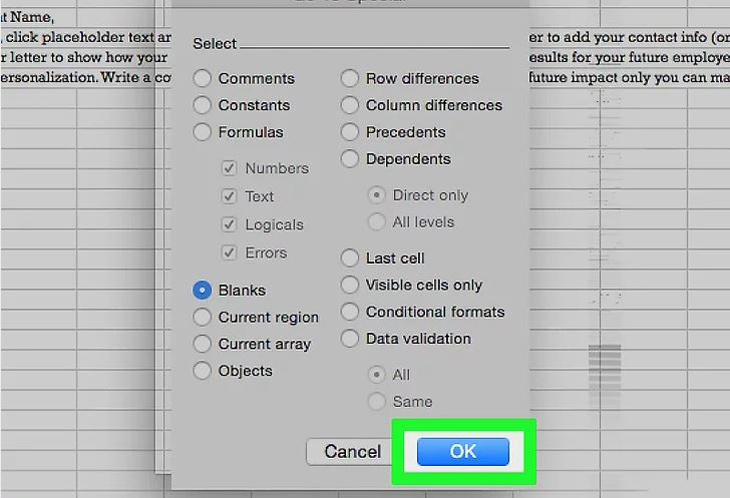
Step 7 : Then you click OK . All empty cells in the data will be highlighted.
Step 8 : Continue, click on the Edit section in the menu bar.
Step 9 : Click the Clear button.
Step 10 : Finally, click Format to finish.
Compress the image size in the spreadsheet
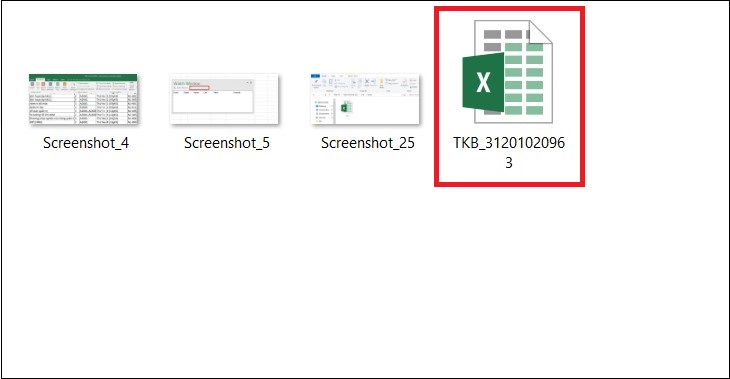
Step 1 : Open the Excel file that you want to compress the image size.
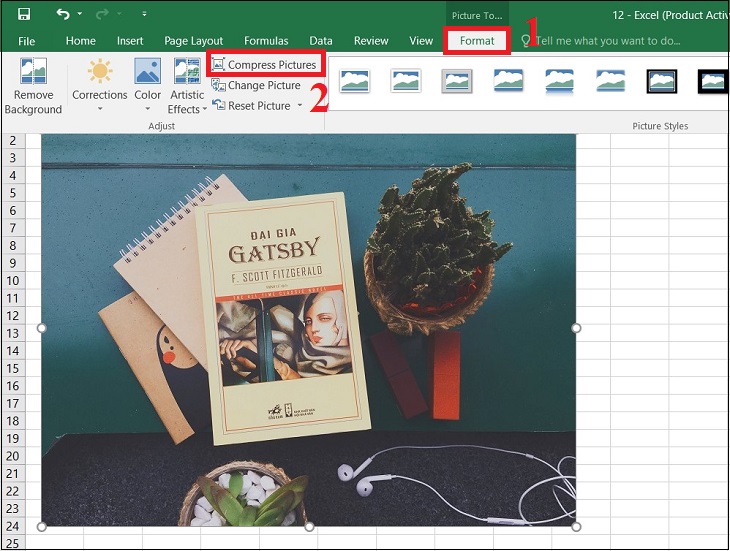
Step 2 : Click on the image you want to decompress > Select Format > Select Compress Pictures .
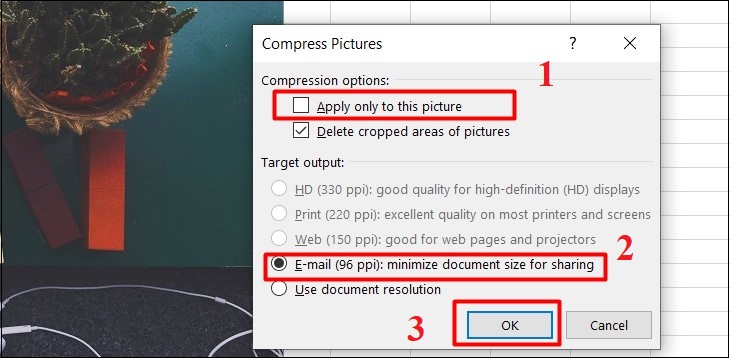
Step 3: Uncheck Apply only to this picture > Select Email (96 ppi): minimize document size for sharing > Click OK.
Delete Data Links
Step 1: Open Excel > Select Data > Select Edit Links > Select the link you want to delete > Select Break Link.
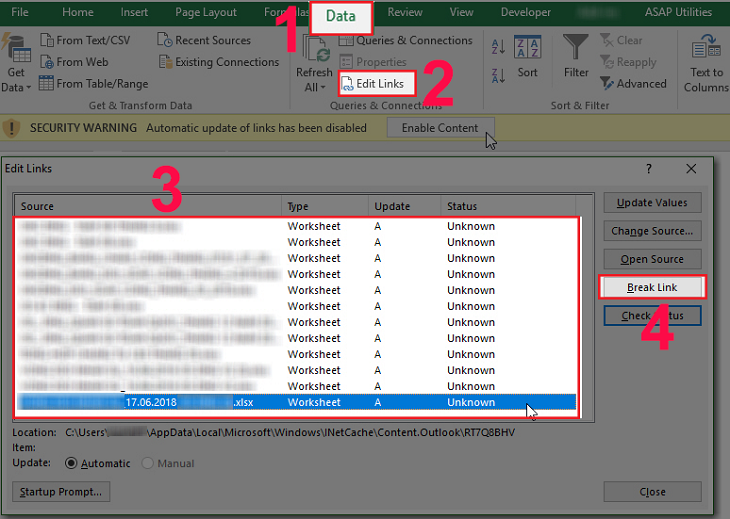
Step 2: Select Break Link again to confirm.

Remove Watch Window
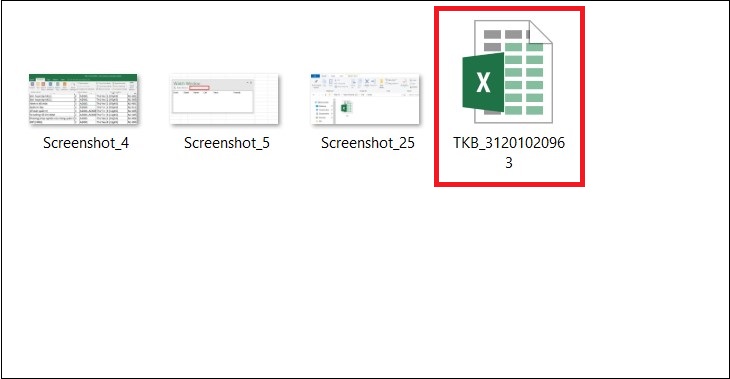
Step 1: Open the excel file that you want to delete Watch Window.
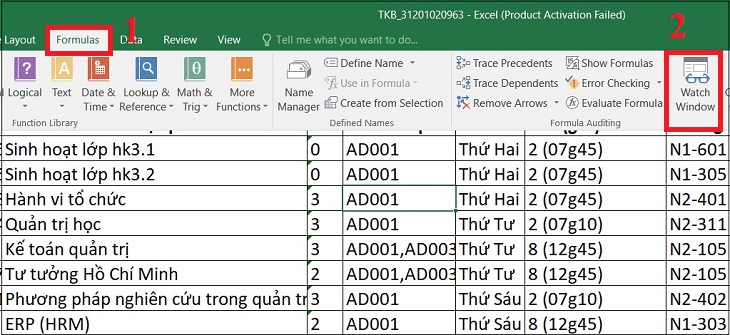
Step 2: Select Formulas > Select Watch Window .
Step 3: Select Delete Watch .
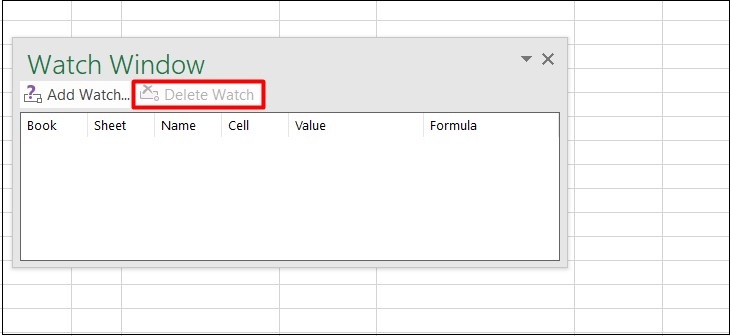
After completing this step, you are finished deleting Watch Window.
Delete the Named Ranges contained in the Excel file
Step 1: Open the excel file you want to delete Named Range.
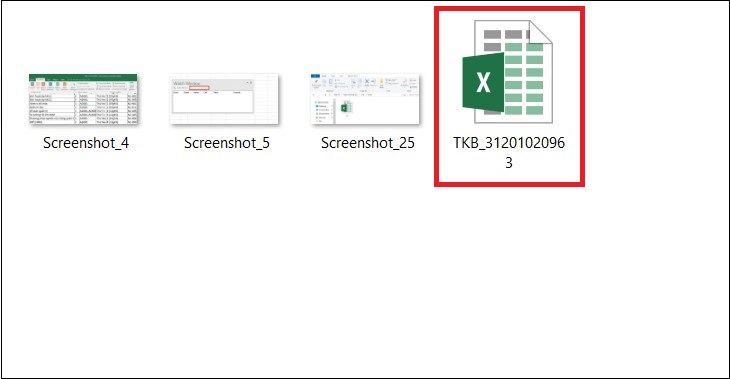
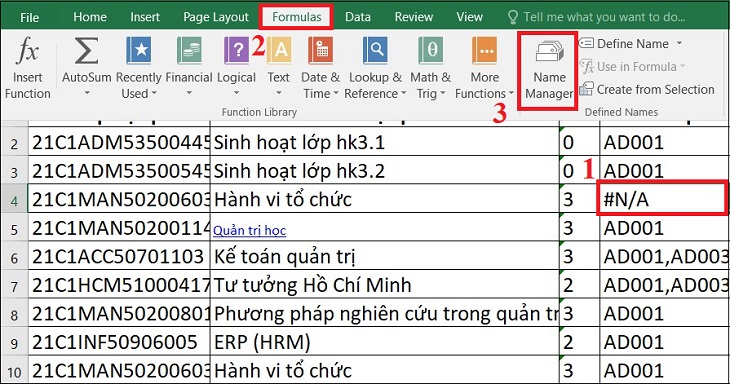
Step 2: Select Formulas > Select Name Manager .
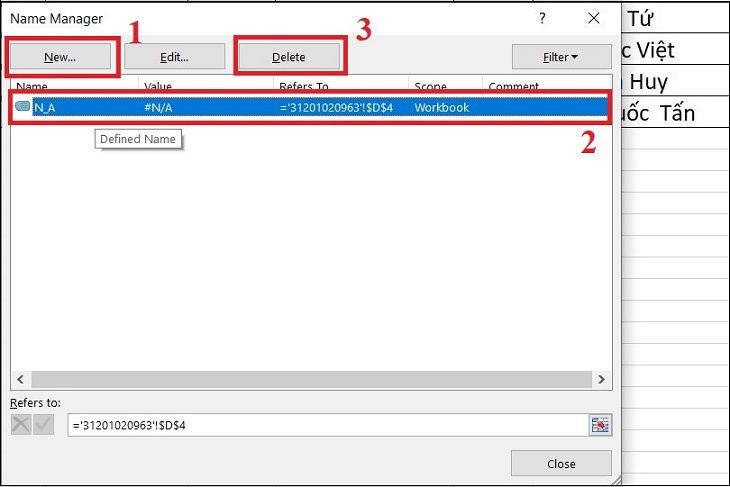
Step 3: Select the faulty name you want to delete > Click Delete e.
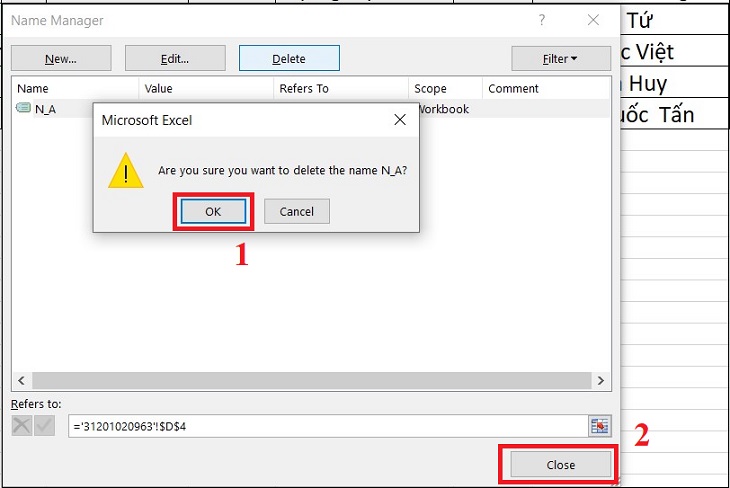
Step 4: Click OK to confirm.
Use Macro Virus Browser
We can use the Virus Macro browser to reduce the size of the Excel file. When you open the excel file, it will name the new workbook for you like “yyy” or “Book1” along with Macro warnings with suggestions to reduce the size of the Excel file.
To fix it you need to do it in the following order:
Open Excel file > Copy all data to another file > Open new file > Paste all copied data > Select Save > Delete old file.

Above is an article on how to reduce the size of the excel file. Hopefully the following article provides useful instructions for you to use excel files more effectively.
Thank you for reading this post How to reduce the size, speed up the processing of Excel files simply and quickly at Tnhelearning.edu.vn You can comment, see more related articles below and hope to help you with interesting information.
Related Search:

